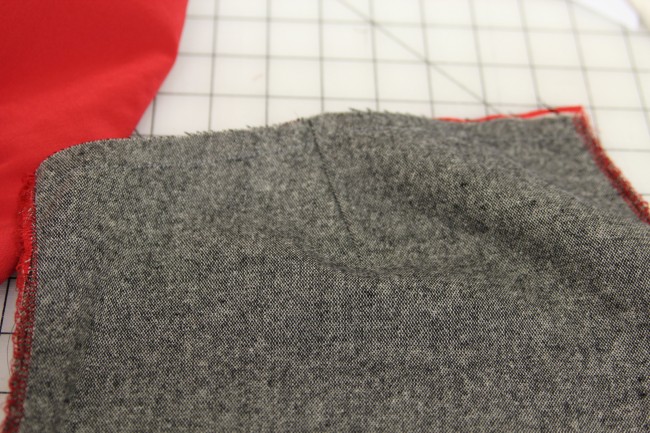
Finally, it’s time to get started sewing our Clovers! As I mentioned before, the actual sewing is very fast and easy, but I’ll be splitting it up into several posts for you.
I’m doing the version with pockets. If you decide not to do the pockets (which makes the pants even easier), you can just skip the pocket steps.
As I mentioned in the underlining post, I’m using a black/white tweed for the main fabric, red silk for the underlining and pockets, and black cotton for the inner waistband. This will make it really easy for you to see what’s going on, since the wrong side of the pants will be bright red.
First, you will want to staystitch the waistband pieces (both top and bottom) and pants at the waist seam. Generally, it’s a good idea to staystitch as soon as possible after you cut out your pieces, because it prevents stretching.
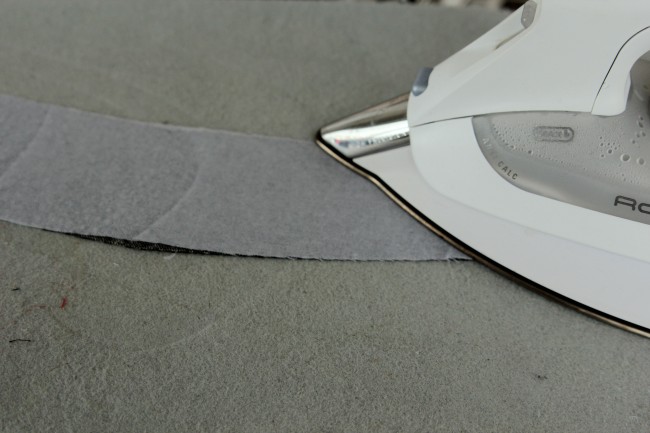
Next, apply your interfacing to the outer waistband pieces. In other words, one waistband front and one waistband back.
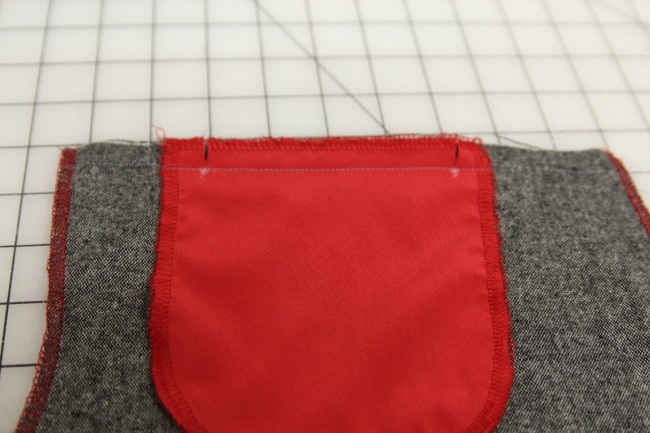
Before you apply your pockets, it’s a good idea to finish the pocket edges. I serged mine. Please ignore the wonky serging, my serger was acting up and I didn’t fix it until after I’d taken these photos.
Stitch the pockets to the pants front, matching up the circles. Stitch all the way across.
Now, clip into the seam allowance, towards the circles. This is going to make it easier to turn the pocket later, so might as well do it now.
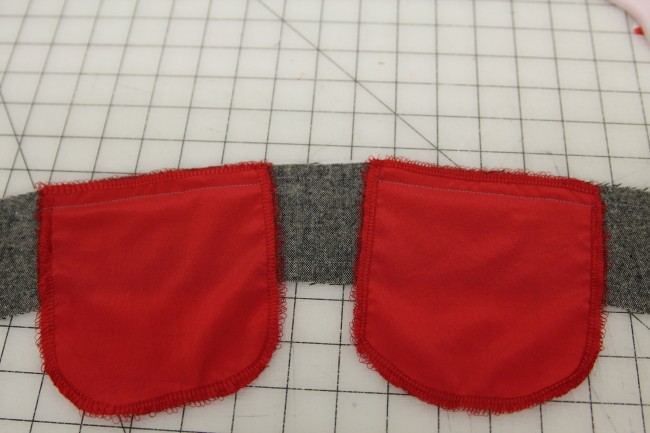
Stitch the other two pockets to the front waistband, with right sides together, matching up the circles again. You’ll be stitching it to the front waistband piece that you just interfaced.
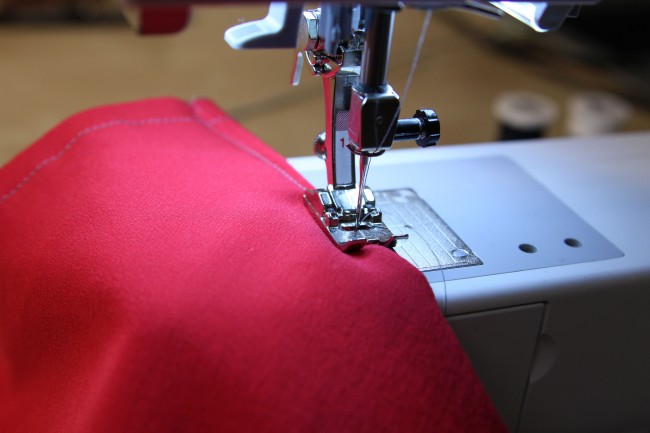
Stitch the darts in the pants back pieces. Tie off the ends at the tip. That just means that you leave long thread tails at the end, then tie them together before clipping them short.
You may notice my dart looks a little bigger than yours. I did a full butt adjustment on mine. I think this is a good time to mention that you shouldn’t get too hung up on the names of these adjustments. I don’t think my butt is particularly large, but it definitely has a lot of muscle tone from running, which I guess makes it more round, if not bigger. Sometimes it’s really just small variations in your shape that cause adjustments to be needed. They aren’t flaws, they’re just differences.
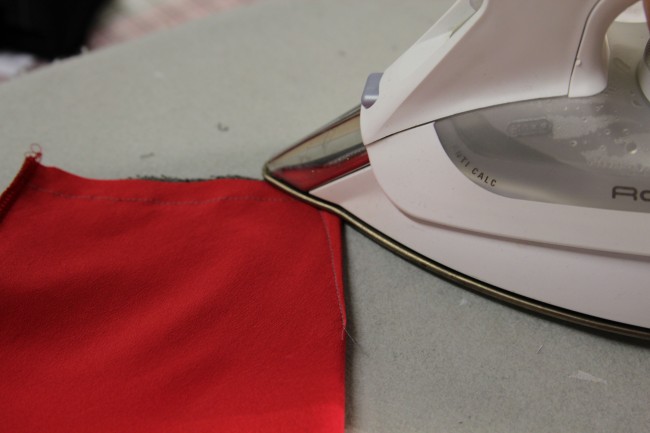
Press the darts flat.
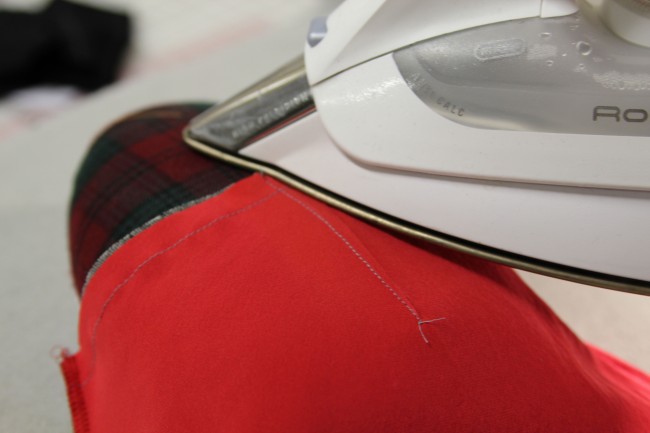
Then press the darts toward the center. Use a tailor’s ham underneath if you have one, to help get a nice curve.

Press again from the right side, again with a tailor’s ham if possible.
And that’s it for today! On Thursday, we’re going to assemble the legs (super easy, just a few seams), and then we’ll do the waistband and zipper.


Comments
“They aren’t flaws, they’re just differences.”
Three cheers for that line alone. People need to believe that.