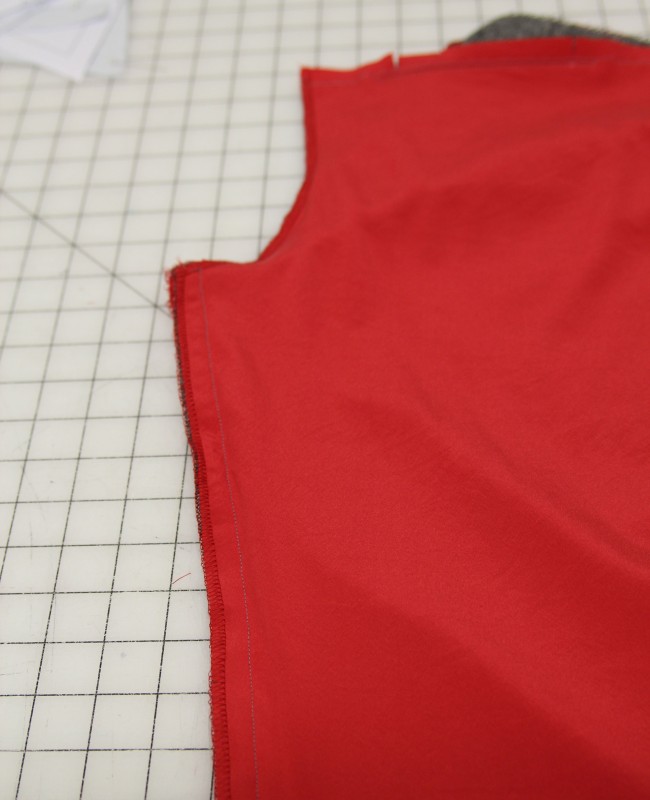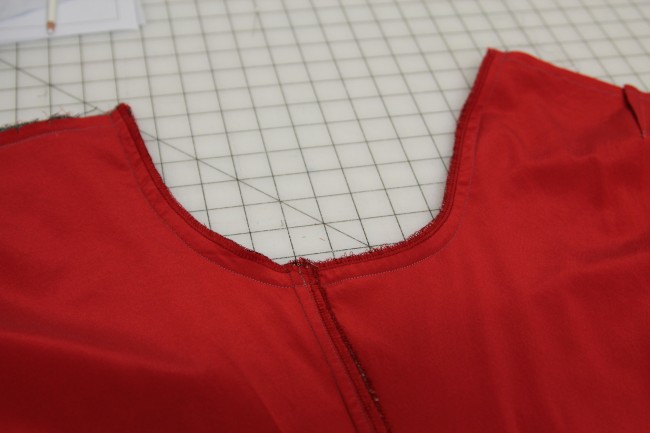
This will be fast and easy, folks! Today we’re assembling the legs of our Clover pants together in just three easy steps.
First, stitch each pants front to a pants back at the inner leg seam. Finish the seam and press.

Now sew the two leg units together along the crotch seam, taking care to align the inner legs seams. Finish the seam and press.
You can clip the seam if need be, depending on how you’ve chosen to finish it. I’m just going to press mine to the side.

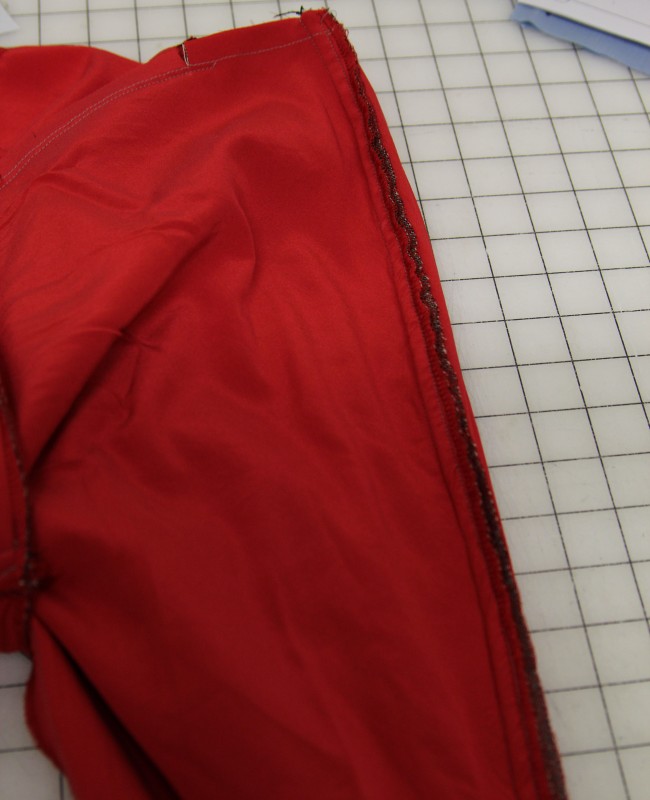
Finally, stitch the right side seam, finish, and press.
You can sort of see my finish here. As I mentioned in the underlining post, I serged my main fabric to the underlining, so I wouldn’t need to finish the raw edges while I sew. It’s a great time saver! As I sew the seams, I press them to the side and topstitch for a mock flat fell seam.
Now your pants are largely assembled!
This is a great time to try them on and do a final fitting. Pin the second leg closed and take a look at the fit. See if there are any final little adjustments to be made, particularly around the side seams, center back seam, and darts.
Next week, we’ll finish off our pants! I am really happy with mine so far.


Comments
Ok, so I’m a little late for the sew along but I’m sewing a pair of Clovers and I’m having a problem. My side seams and my notches don’t line up, at first I thought it was due to a shoddy cutting job but I’ve cut my muslin twice and they don’t match either time. Is that right? If I ignore the notches then the seams line up brilliantly. I am a beginner and this just doesn’t make sense. Help!