How is your Anise fitting going?
Today, I’m going to cover the next steps in our sew-along, including cutting, applying the interfacing, and underlining. I know some of you are probably still working on fitting, and that’s just fine! Today’s checklist is pretty straightforward and we’ll start sewing next Tuesday, so there’s plenty of time to catch up.
For those using The Anise Companion, today’s post comes from day 3, starting on page 24.
Here’s the checklist for today:

Cut your fabric
This part is pretty straightforward, and you should already have the paper pattern cut out since you’ve made a muslin.
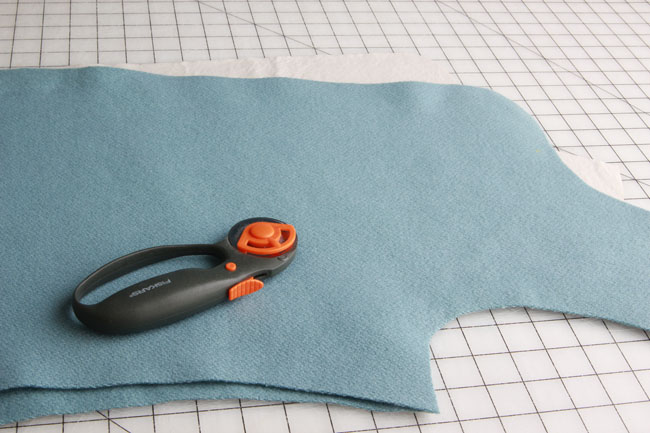
Use the cutting layouts included in your pattern and cut the pieces from all of your fabric. Cut the main fabric, the lining, the muslin you’ll be using as an underlining, and the interfacing.

When you cut, transfer all of the markings from the pattern onto the wrong side of the main fabric.
For the jacket front, back, and side back, you’ll only transfer the marks onto the underlining, but don’t worry about the main fabric. That’s because the underlining will be attached to the wrong side.

Transfer the marks to the underlining and interfacing pieces too.
Apply interfacing

Use your iron to apply the fusible interfacing to the under collar.

Place the collar roll interfacing on top of your first layer of interfacing. Align the point of the interfacing with the placement marks from the pattern.

Finally, apply interfacing to the facing front pieces and the welt pieces.
Attach Underlining

On the jacket center back underlining, trim away the dart. This will help reduce bulk.

With the wrong sides together, stitch the underlining to the jacket front, center back, and side back with a ½” seam allowance.

Trim the seam allowances on the underlining (not the main fabric) to a scant ⅛”. This will help prevent extra bulk at the seams.
Still with me? All your pattern pieces are now prepped and we’ll be ready to start sewing on Tuesday when we stitch the body of the jacket together!


Comments
I’m a little behind – I spent extra time marking all the stitching lines (per Susan Khalje). I finally got my muslin marked & cut last night, and I’m hoping to put it together tonight. I hope to be cutting my jacket by Monday.
Sorry if the pace seems quick, guys! I’m trying to do two steps during the week (Tuesdays and Thursdays) so that you have information for weekend sewing. :)
oh my god! you’re moving so fast. :) I haven’t even gotten the fabric yet (not for this sew along either…) :/ I’m having such a hard time to decide and feel I need a lot more inspiration pics, so I guess I’ll just wait until all of you are finished and then I can go through the flickr group to find what I want. ;)
Hi, although I am not taking part in the SAL, I just wanted to thank you for all the useful tips!
Thanks for the lot provided ;)!! …The inspiration, the tips :).
do you preshrink your interfacing?
Quick question: I just got to the underlining stage. I am using cotton flannel to underline my cotton velvet for a bit of extra warmth. Should I underline the sleeves as well? Will it create a distinction between the sleeves and the body if I do not? Will it create too much bulk in the sleeves if I do? Any help is appreciated!